How I Saved My Overwatered Bougainvillea — Step-by-Step...
A first-person account from Soumen Maitra: how a Barbara Karst in Kolkata nearly died from overwatering during the 2025 monsoon, the mistakes that made it worse, and the emergency repot procedure that saved it. Documented step by step.
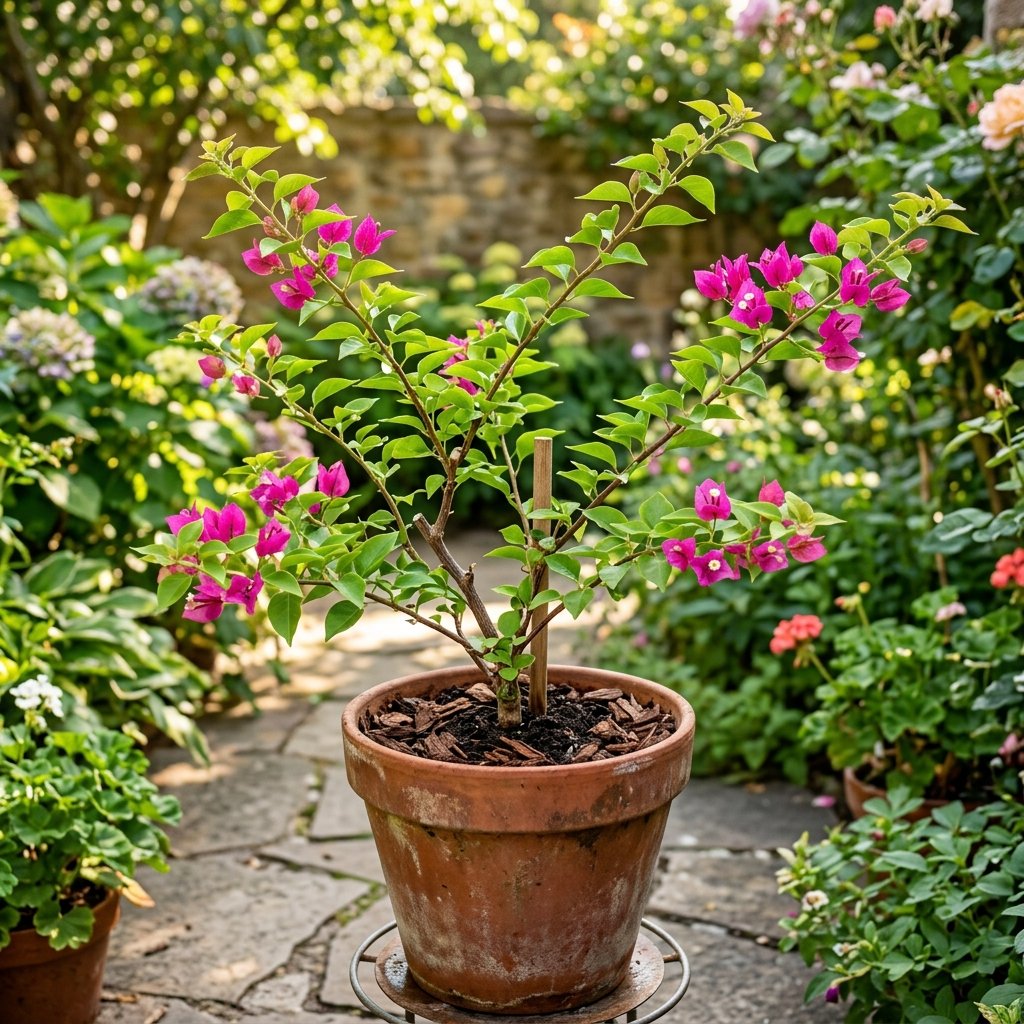
Quick Answer
To save an overwatered bougainvillea with root rot: immediately remove from the pot, wash roots clean, cut away all black or mushy root tissue, soak healthy remaining roots in diluted hydrogen peroxide for 5 minutes, repot in fresh fast-draining mix, keep in shade for 10–14 days, and do not water for 5–7 days. New growth should appear within 3–4 weeks if stems are still alive.
The Problem Starts the Way It Always Does: Slowly
It was late October 2025, about ten days after the last significant monsoon rain had passed through Kolkata. My Barbara Karst — a plant I had grown from a cutting nearly four years earlier, one of the best-performing plants in my nursery — had started looking slightly wrong.
The leaves were a normal green. The stems looked fine. But the plant had a vague listlessness to it. New growth that should have been pushing hard in the dry October window — the beginning of what is usually my best bloom preparation period — was barely moving. And a few of the lower leaves had started to yellow.
I looked at it, touched the soil surface (still slightly damp, but October had just begun), and made the classic mistake: I assumed it was showing post-monsoon transition stress and that it needed encouragement. I watered it.
The Mistake That Made Everything Worse
For the next five days, I did what any caring plant owner does when they think a plant is struggling: I gave it more attention. I watered when I thought the soil looked dryish. I moved it to a slightly sunnier spot. I added a light dose of 19:19:19 fertilizer on day three, thinking it needed a nutritional pick-me-up.
By day seven, the plant had gone from "slightly wrong" to clearly sick. Six leaves had dropped overnight. Three more were soft and yellowing. The stem near the soil was developing a slightly soft quality when I pressed it. The soil, which I had been watering every 2–3 days, felt clammy when I pushed my finger in 5cm.
That was when I stopped pretending this was transition stress and actually diagnosed the plant properly. I tipped it out of its pot.
What I Found (And Why It Was My Fault)
The root ball came out of the 30cm terracotta pot in a single dense mass. Normally that is a good sign — healthy roots hold soil together. But when I held it up and looked at the roots at the base of the ball, I knew immediately.
At least 40% of the root mass was black. Not dark brown — black, mushy, and smelling of rot. The healthy white and tan roots at the top of the ball were still firm and alive. But the bottom third of the root system, which had been sitting closest to the drainage hole and had presumably received the most accumulated water, was gone.
The cause became clear when I looked inside the empty pot: the drainage hole — a 1cm opening at the base — was completely blocked with compacted soil and what appeared to be a piece of mesh from the original potting. Water had been sitting at the base of the pot for who knows how long, possibly for most of the monsoon. Every time I thought the surface of the soil was drying, the base of the pot was still waterlogged. And for the last five days, I had been adding more water on top of an already drowning root system.
The Emergency Repot: Every Step
Step 1: Wash the roots
I carried the plant to the outdoor tap and washed the entire root ball clean under a gentle stream of water. I used my fingers to separate the roots carefully, removing all the old potting mix. This is important — you need to see exactly what you are dealing with before you cut anything.
Step 2: Assess and cut
I laid the root ball on a clean surface under good light. The damage was extensive but not total. The top 60% of the root system — the fine white feeder roots — were still alive and healthy. The bottom 40% was completely rotten.
Using scissors I had sterilised with isopropyl alcohol, I cut away every piece of rotten root tissue. Cut to healthy white tissue. If there was any doubt about whether a root was healthy, it came off. When I was done, the remaining healthy root mass was roughly 60% of what I had started with.
Step 3: Hydrogen peroxide treatment
I mixed 1 part 3% hydrogen peroxide (the pharmacy variety) with 3 parts clean water in a bucket. I submerged the remaining healthy root mass in this solution for exactly 5 minutes. The peroxide kills residual fungal spores that cause rot — Pythium and Phytophthora in particular — without damaging healthy root tissue at this dilution. The roots bubbled slightly, which is normal.
Step 4: Air dry
I laid the plant on its side in a shaded spot and allowed the roots to air dry for 30 minutes. I did not cover them or keep them moist. The brief period of drying before repotting reduces the risk of introducing new pathogens with the fresh potting mix.
Step 5: Prepare new pot and mix
I chose a fresh, clean 25cm terracotta pot (slightly smaller than the 30cm original — this reduces excess soil volume that would hold moisture). I meshed the drainage hole properly with plastic bonsai mesh and added two small pieces of broken terracotta over the mesh to prevent blockage.
My potting mix for this recovery plant: 55% good commercial potting soil + 35% perlite + 10% coarse sand. No compost or vermicompost in the mix — I wanted a fast-draining, sterile medium, not a rich growing medium that would push leafy growth before the plant had recovered.
Step 6: Repot
I placed the plant in the new pot, positioned the remaining root mass carefully, and filled in around it with the fresh mix. I pressed gently but did not compact — compression of the mix reduces drainage. I left 2cm of headspace at the top of the pot for watering.
Step 7: First watering
I watered the plant slowly and thoroughly with clean water until water ran freely from the drainage hole. This settles the mix around the roots and ensures even moisture. Then I put the pot down and deliberately walked away from it for the next 7 days without watering again.
The Recovery: Week by Week
Days 1–7
The plant sat in a shaded spot — no direct sun — and looked terrible. More leaves yellowed and fell in the first two days following the repot. This is expected and does not mean the plant is dying — it is shedding foliage it can no longer support with the reduced root system. I kept checking stems by scratching the bark lightly: still green underneath. Still alive.
Days 8–14
The leaf drop stopped. The plant was now much smaller than before — stripped of about half its foliage. But the remaining leaves were still attached and still green. I moved it to a spot with 2–3 hours of morning sun and started checking the soil moisture daily with a finger test.
Day 12
I noticed the first sign of hope: a tiny, bright green growth tip had appeared at one of the stem nodes. Then another. By day 14 there were four visible new growth tips pushing from various nodes along the main stems. This is the signal that the root system is functional enough to support new top growth — the worst is over.
Weeks 3–5
Recovery accelerated. The plant moved to full morning sun by week 3 and by week 4 was back in its normal full-sun position. By week 5 it had put on 8–10cm of new compact growth across multiple stems. No bloom flush that October — the plant used all its energy recovering. But it was alive.
February 2026
The plant bloomed. Not as heavily as the previous years, but a genuine, respectable flush of Barbara Karst's deep magenta bracts across the new growth from the recovery period. It looked healthy. More importantly, I checked the roots at the February repot — clean, white, and dense. The root rot was fully gone.
What I Learned and Would Do Differently
- Check the drainage hole monthly, not just when problems appear. The blocked hole that started this was preventable. Five seconds of inspection per month is all it takes.
- When a plant looks slightly wrong, check the roots first. Do not feed, do not water more, do not move. Remove from the pot, look at the roots, diagnose, then act.
- Adding fertilizer to a stressed plant is almost always wrong. The 19:19:19 I added on day 3 was pointless and potentially made things worse. A plant with compromised roots cannot absorb fertilizer — it just becomes salt accumulation in the mix.
- The hydrogen peroxide step genuinely works. I have used it on multiple recovery cases since and consistently see faster clean root regrowth than cases where it was skipped.
- Expect the plant to look worse before it looks better. The leaf drop in the first week after emergency repotting is not failure — it is the plant right-sizing its top growth to match its reduced root capacity.
Twelve years of growing bougainvillea, and I still made this mistake. The plant is forgiving if you act correctly and quickly. The lesson is simple: inspect before you diagnose, diagnose before you treat.
Recommended next actions
Next Best Actions
Move from reading to action with related calculators, plant profiles, and quiz-based recommendations.
Plant Guide
'Barbara Karst'
Bougainvillea 'Barbara Karst' is a vigorous, popular cultivar prized for its brilliant magenta-red bracts and prolific, nearly year-round blooming habit. One of the hardiest bougainvilleas, it thrives in hot, full-sun gardens, on fences and trellises, and in large containers across tropical and subtropical climates.
Calculator
Bougainvillea Potting Mix Calculator
Calculate the exact volumes of perlite, compost, and soil for a fast-draining Bougainvillea mix.
Calculator
Bougainvillea Repotting Calculator
Calculate exact pot size upgrades while learning how to protect their fragile roots.
Plant Guide
'Adarna' (Shikendari)
Bougainvillea 'Adarna' (Shikendari) is a rare collector's cultivar prized for its spectacular multicoloured bracts that shift between yellow, orange, and deep pink-magenta. A prolific bloomer for hot, full-sun gardens, fences, and large containers across tropical India.
Plant Guide
'California Gold'
Bougainvillea 'California Gold' is a vigorous and popular cultivar prized for its stunning, warm golden-yellow bracts that sometimes shift to a bronze-orange as they age. A prolific bloomer for hot, full-sun gardens, fences, trellises, and containers across tropical and subtropical climates.
Calculator
Bougainvillea Garden Mulch Calculator
Calculate exact mulch volumes while learning how to apply it safely around Bougainvilleas.